


In this post, we will look at realms and users in Keycloak. Before we start creating these things, we should familiarize ourselves with these terms from the Keycloak universe.
What is a realm?
A realm is a logical boundary that represents a set of users, roles, and client applications. Each realm is isolated from other realms, so user and application data is stored and managed separately for each realm. This means that a user in one realm does not have access to resources in another realm unless explicitly granted by an administrator.
What is the master realm?
The Keycloak master realm is the default administrative realm that is used for managing the Keycloak server itself. It is a special realm that provides access to the Keycloak administration console and allows administrators to manage other realms, users, roles, clients, and settings. The master realm is not meant to be used for managing users or applications and is only used for administration purposes. By default, the master realm has a limited set of users and roles that are used for administrative tasks. Access to the master realm is typically restricted to a small group of users, who are given the necessary permissions to perform administrative tasks.
What is a user?
A user refers to an individual who has an account in the Keycloak system. A user is identified by a unique username and can have additional attributes, such as email addresses, phone numbers, and roles. Keycloak allows administrators to manage users and their attributes. Users can be assigned to one or multiple realms and can access applications and services that are protected by Keycloak. There are also user groups, which are collections of users that can be managed and assigned to roles collectively.
Creating a new realm
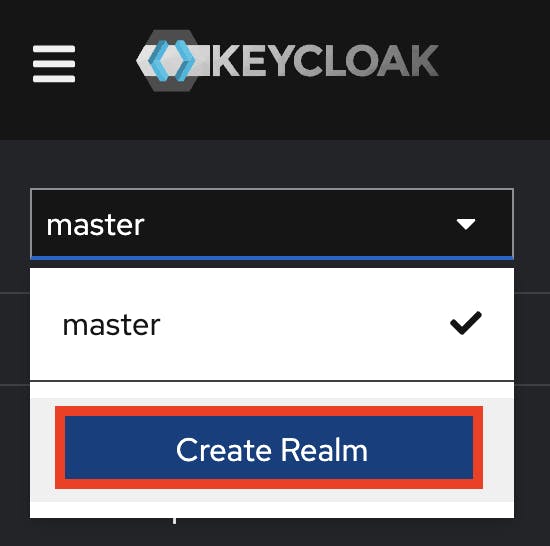
To create a new realm, open the selection field in the upper left corner of the administration console and click on Create Realm.
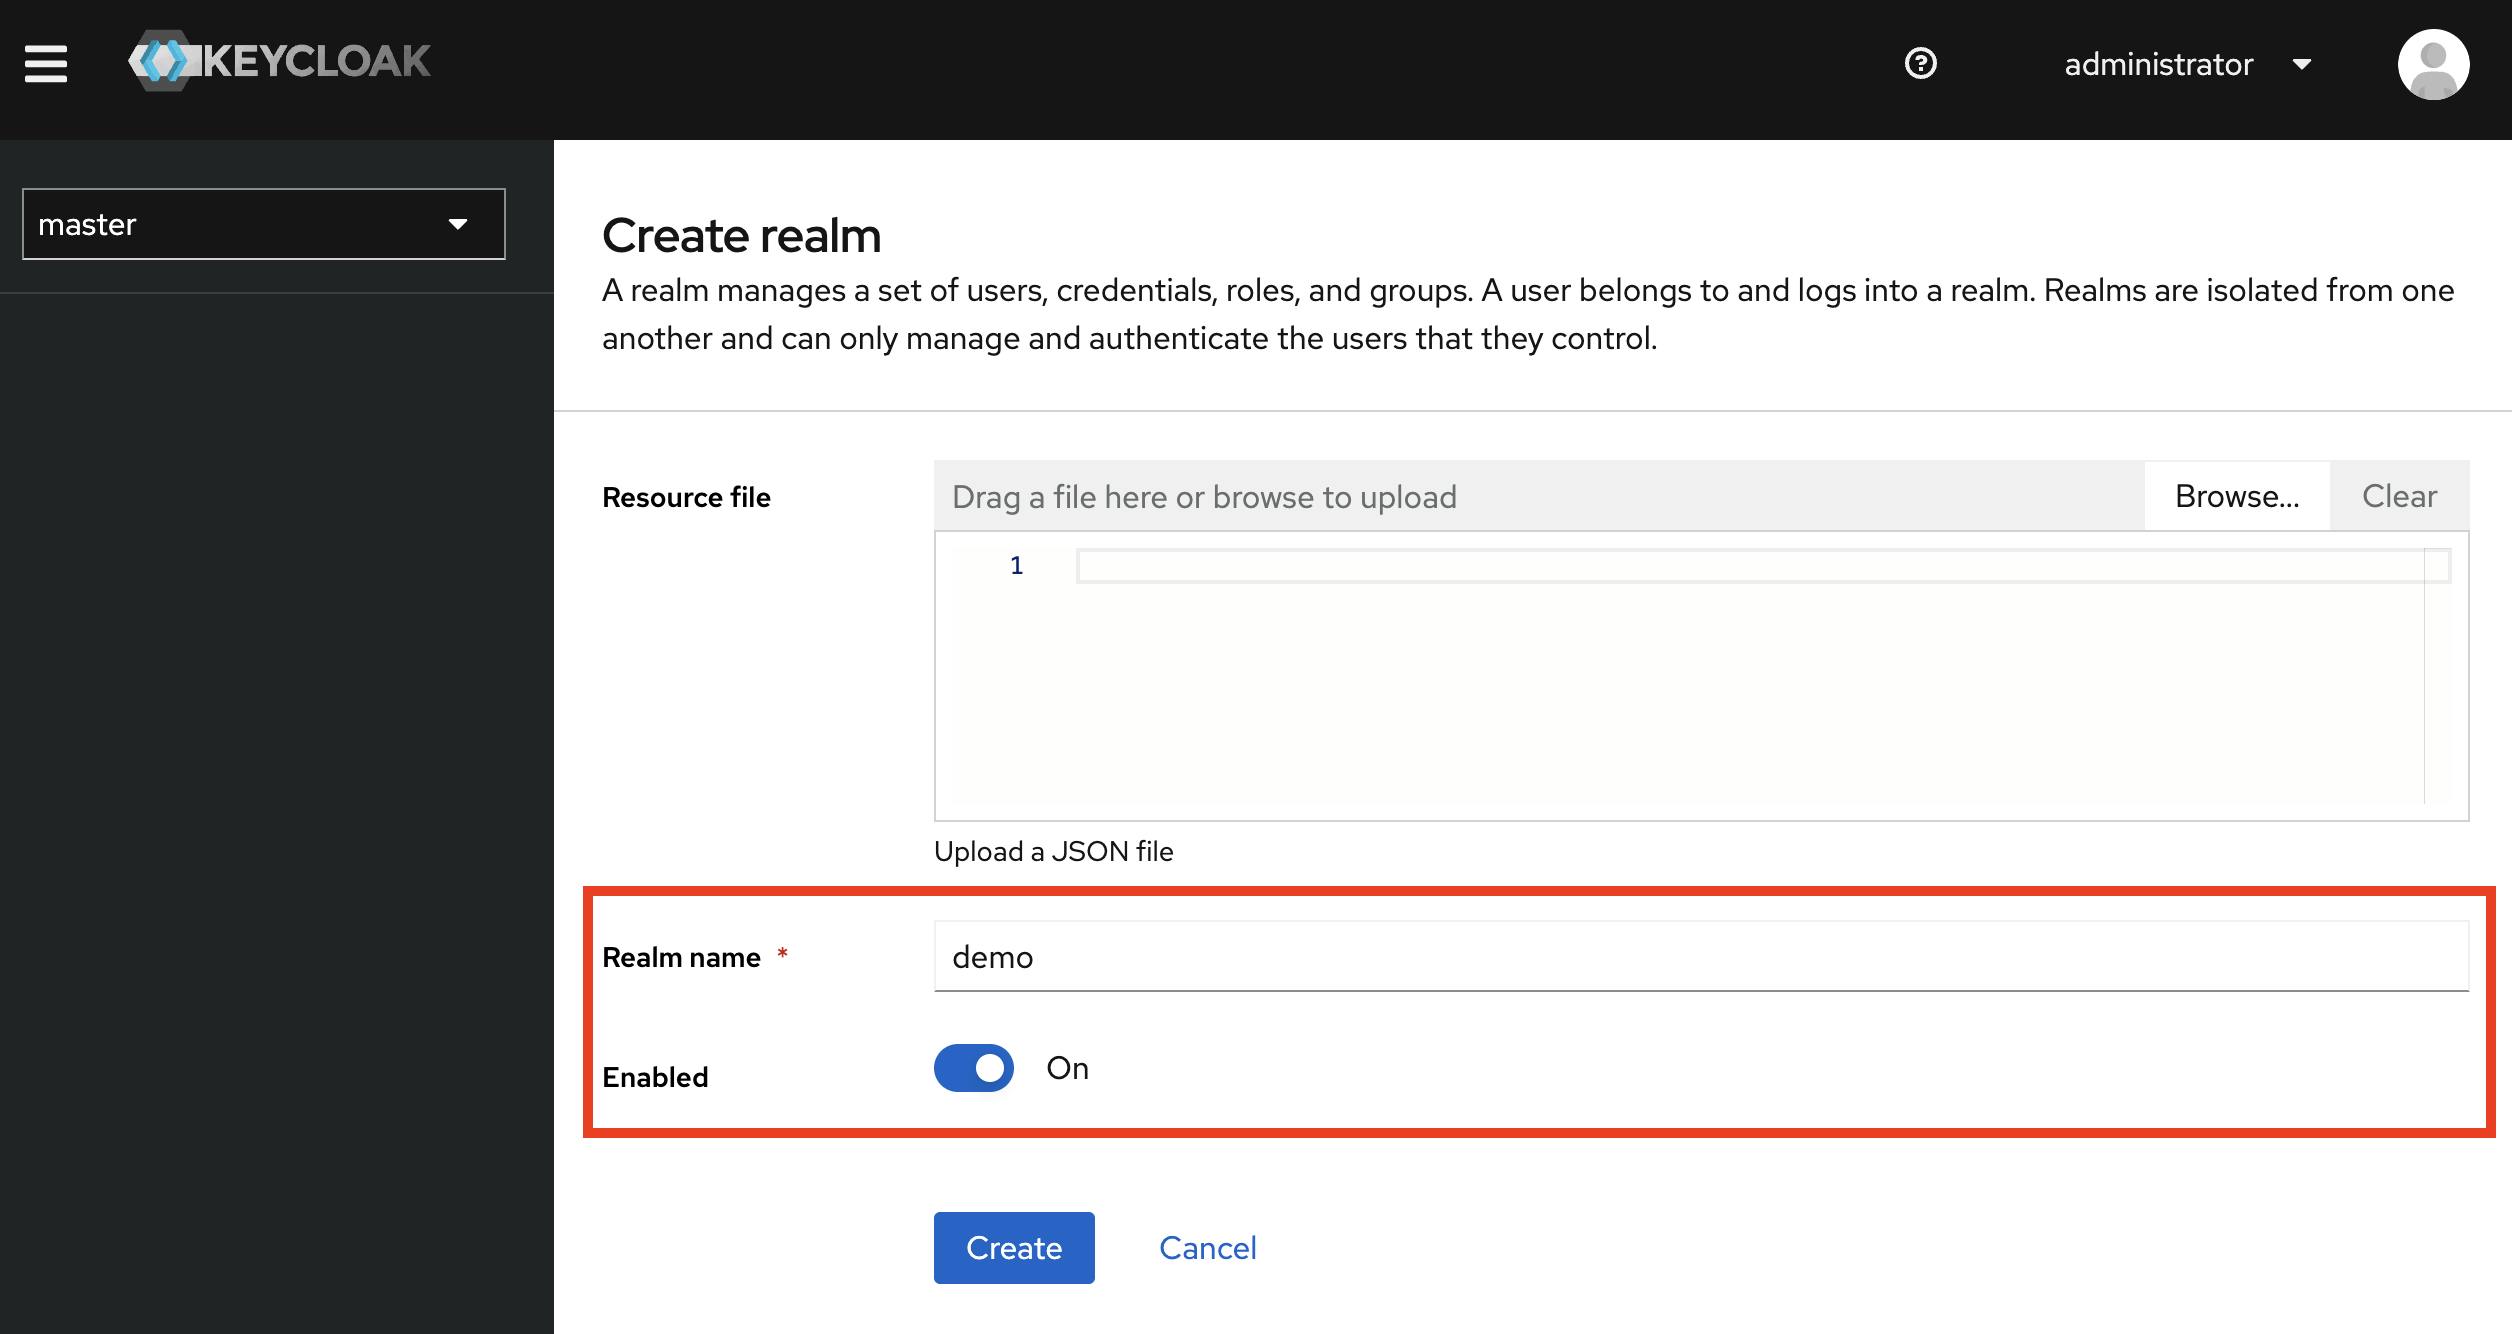
The creation form is very simple. Choose a name and make sure the realm is enabled. Please note that the name will be part of several URLs later on. Therefore, it is best to use a URL-compliant name, e.g. demo or my-demo-realm.
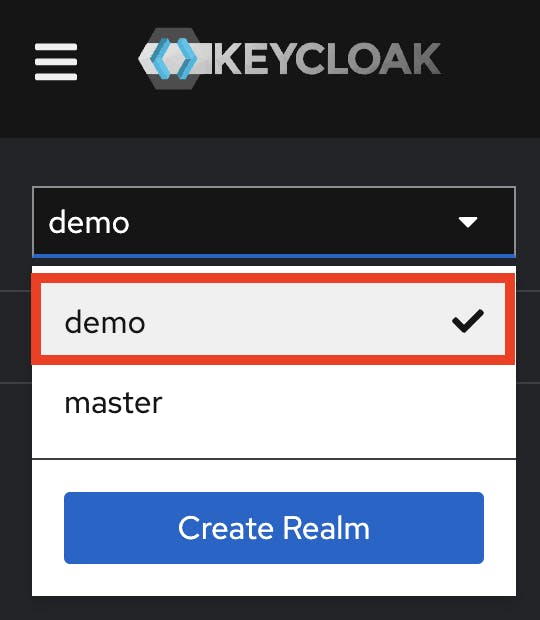
Afterward, please switch to the created realm.
A lot can be configured in the realm itself. We will deal with the numerous configuration options in another post.
Creating a new user
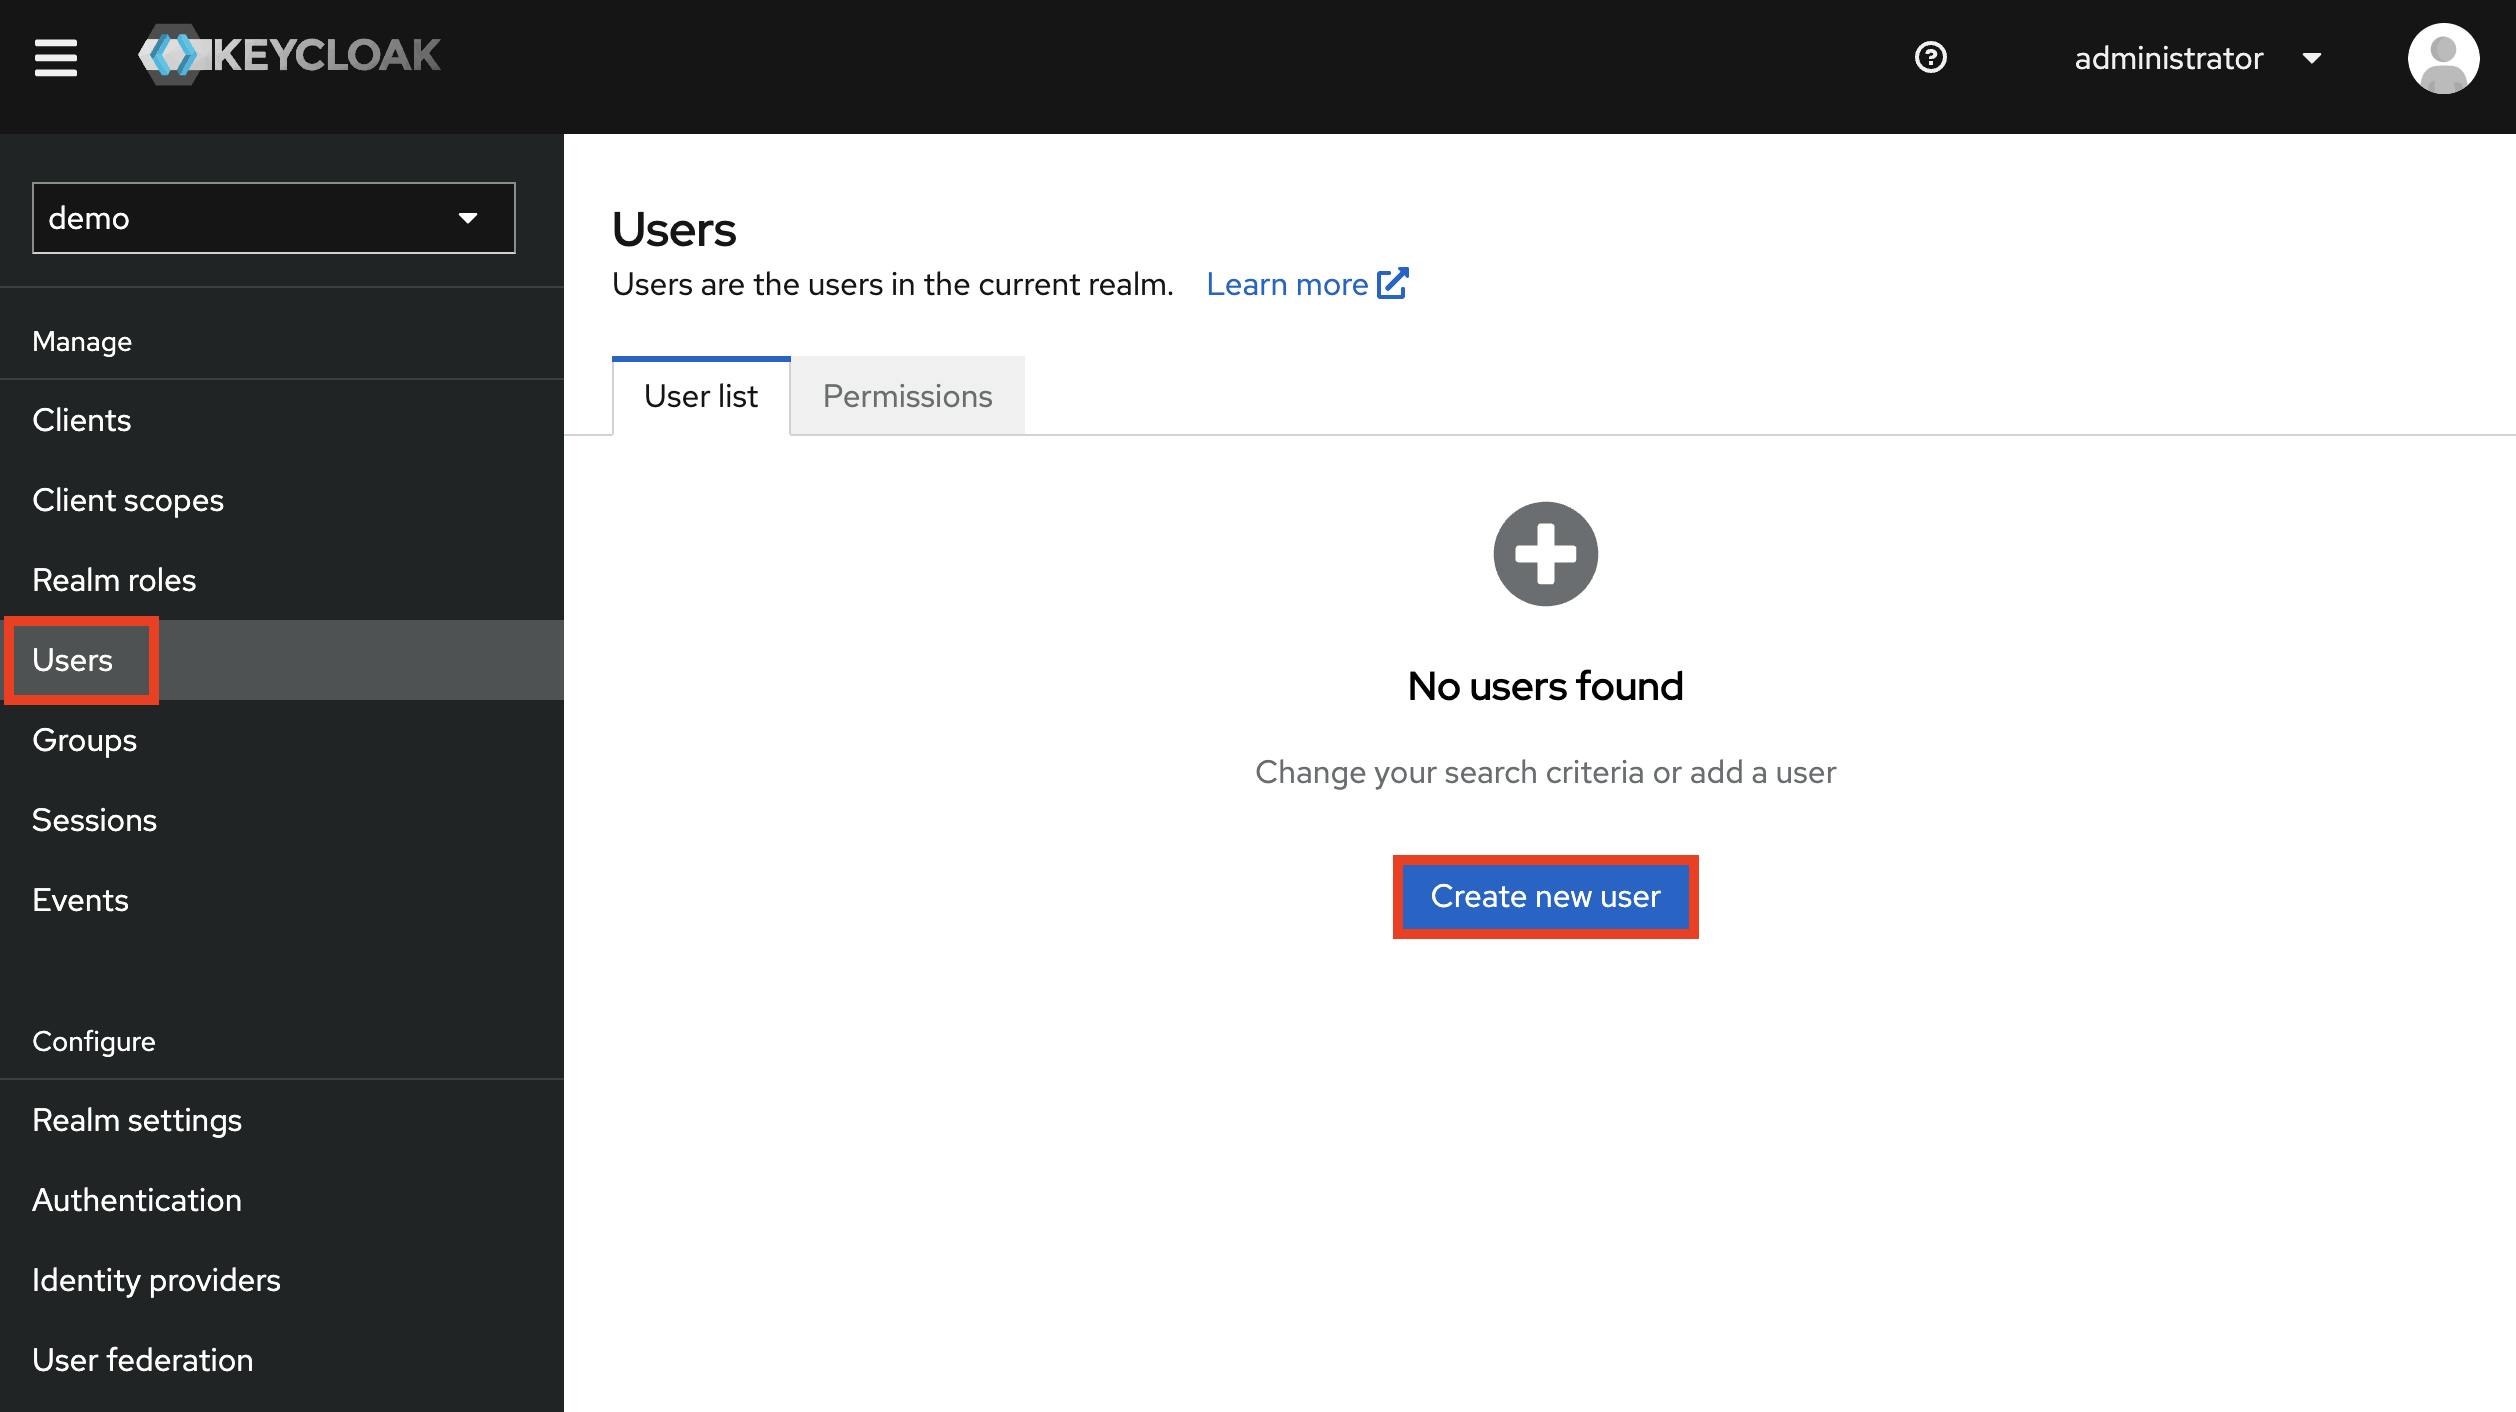
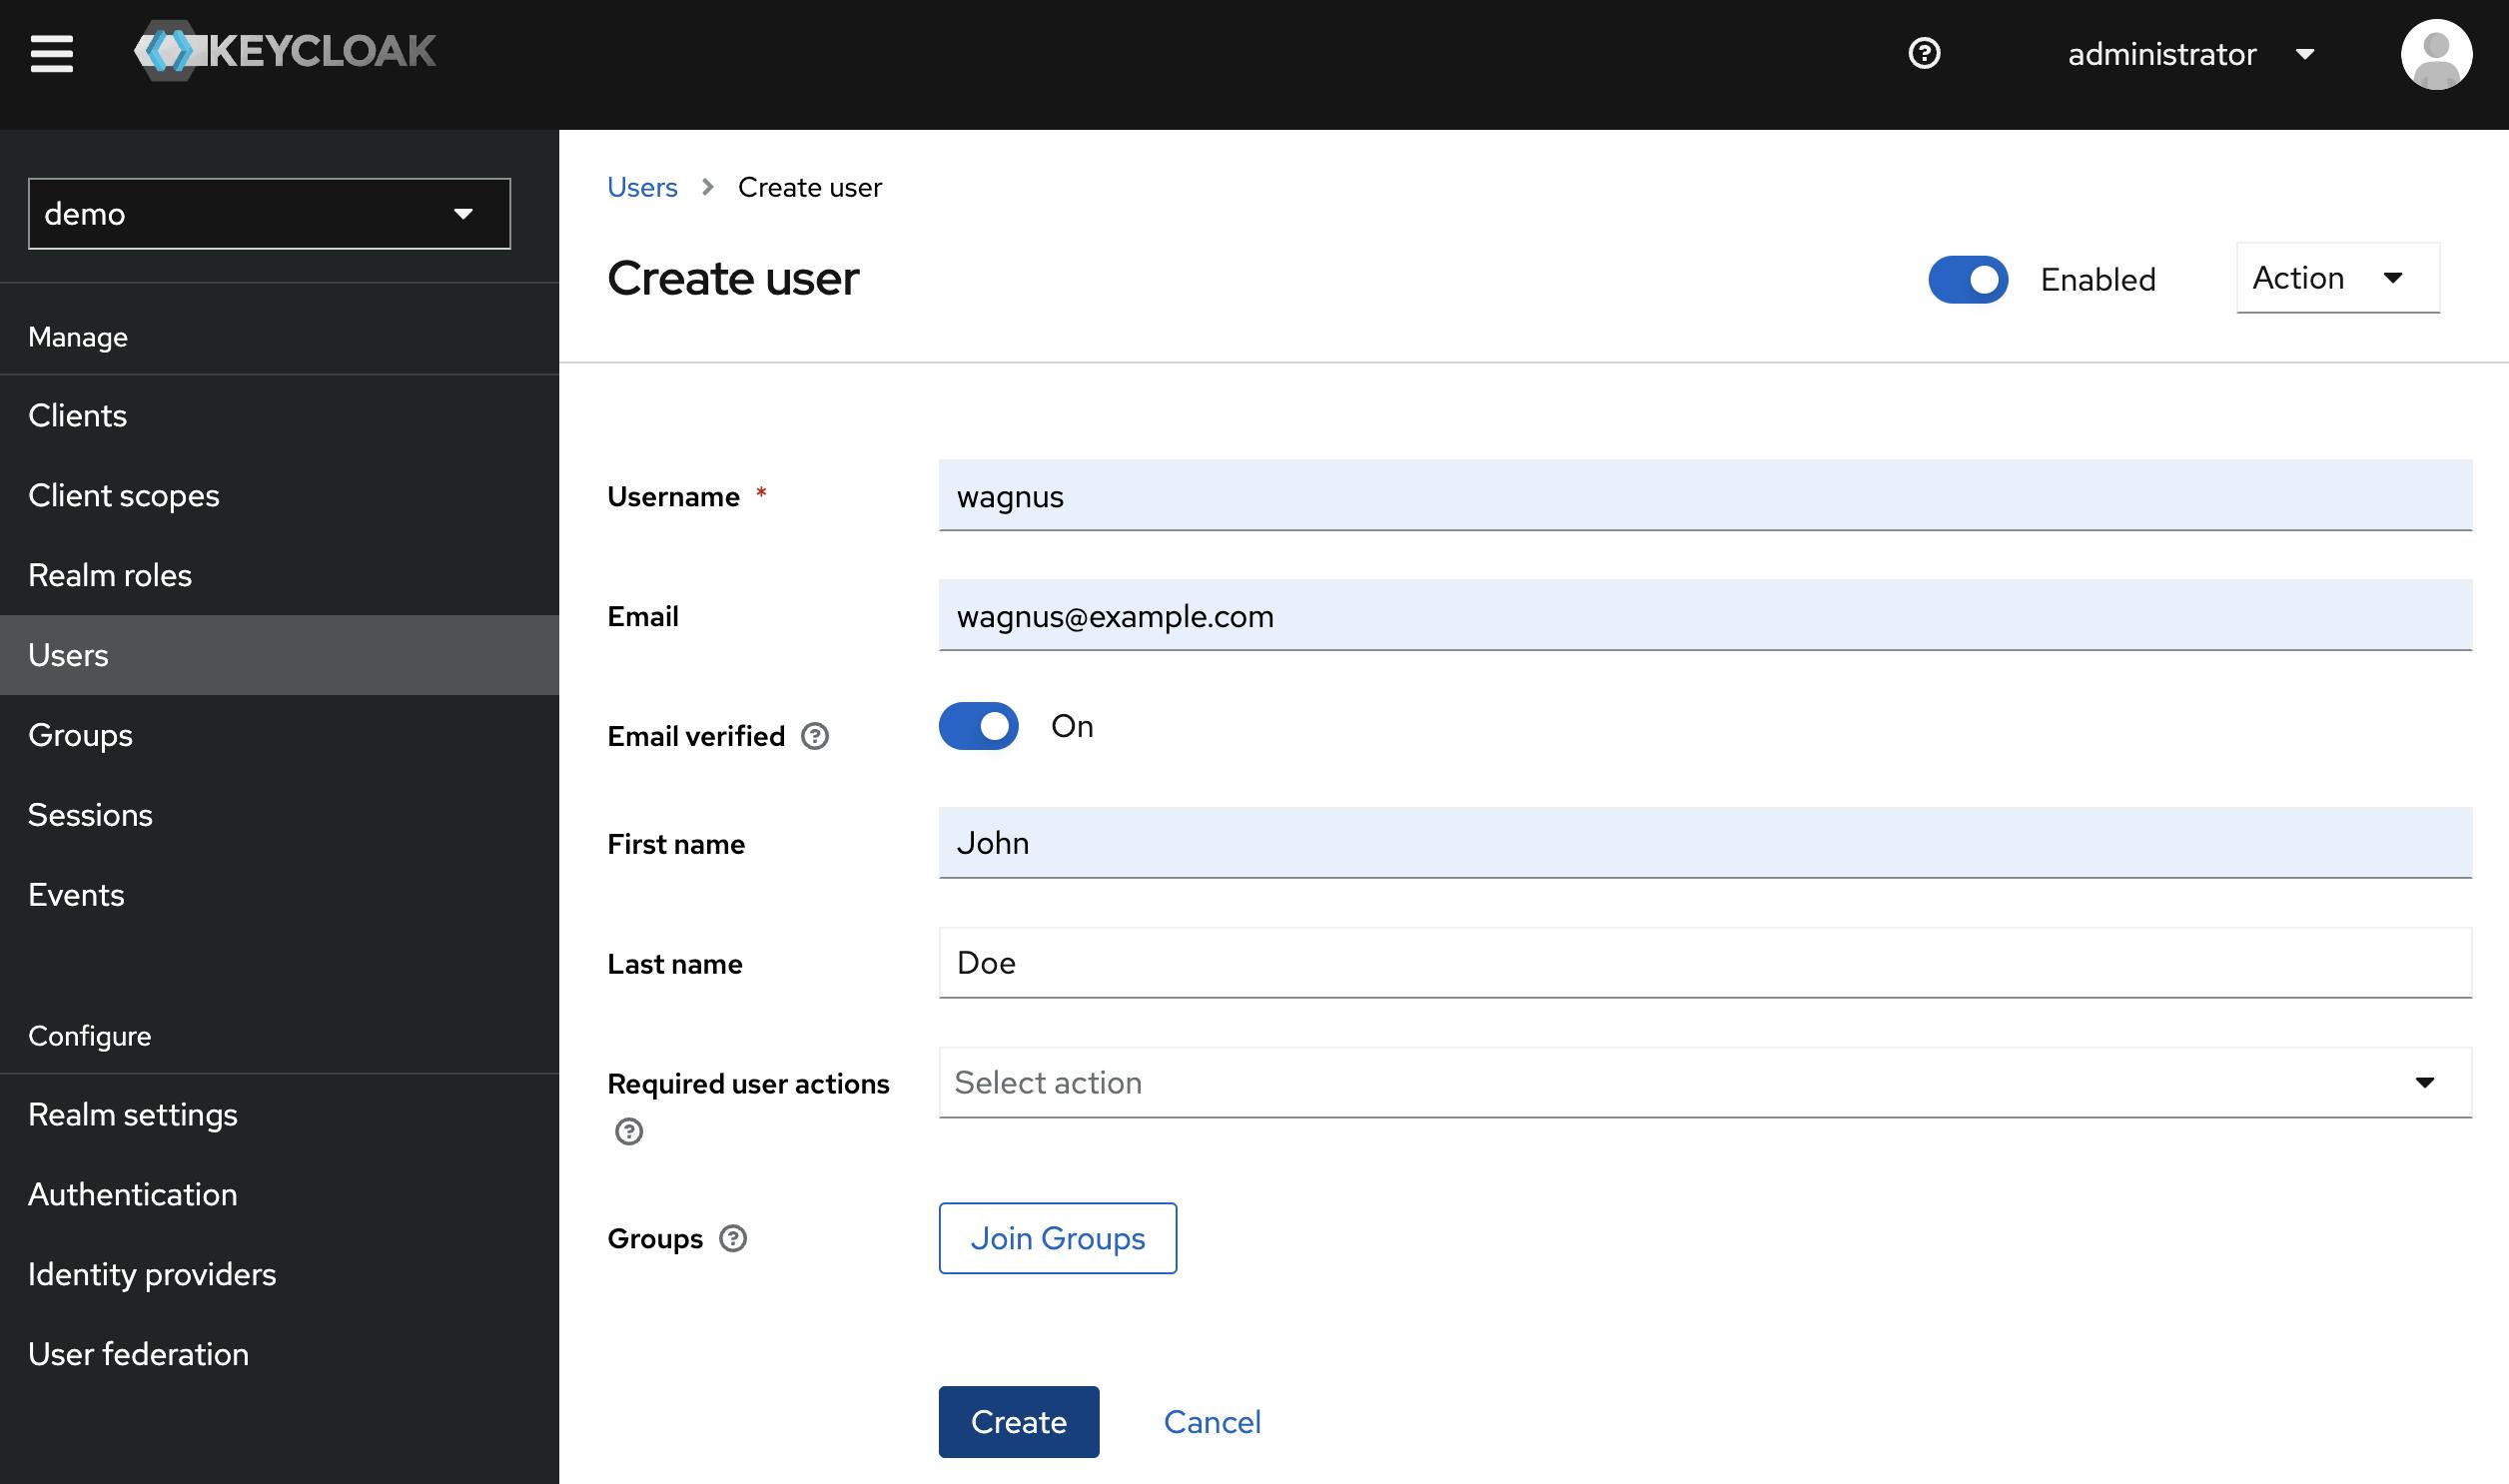
Among other things, users are managed in the realm. We will now create our first user in the realm. To do this, go to Users in the left menu and click on Create new user.
We define a simple test user with an already verified email address.
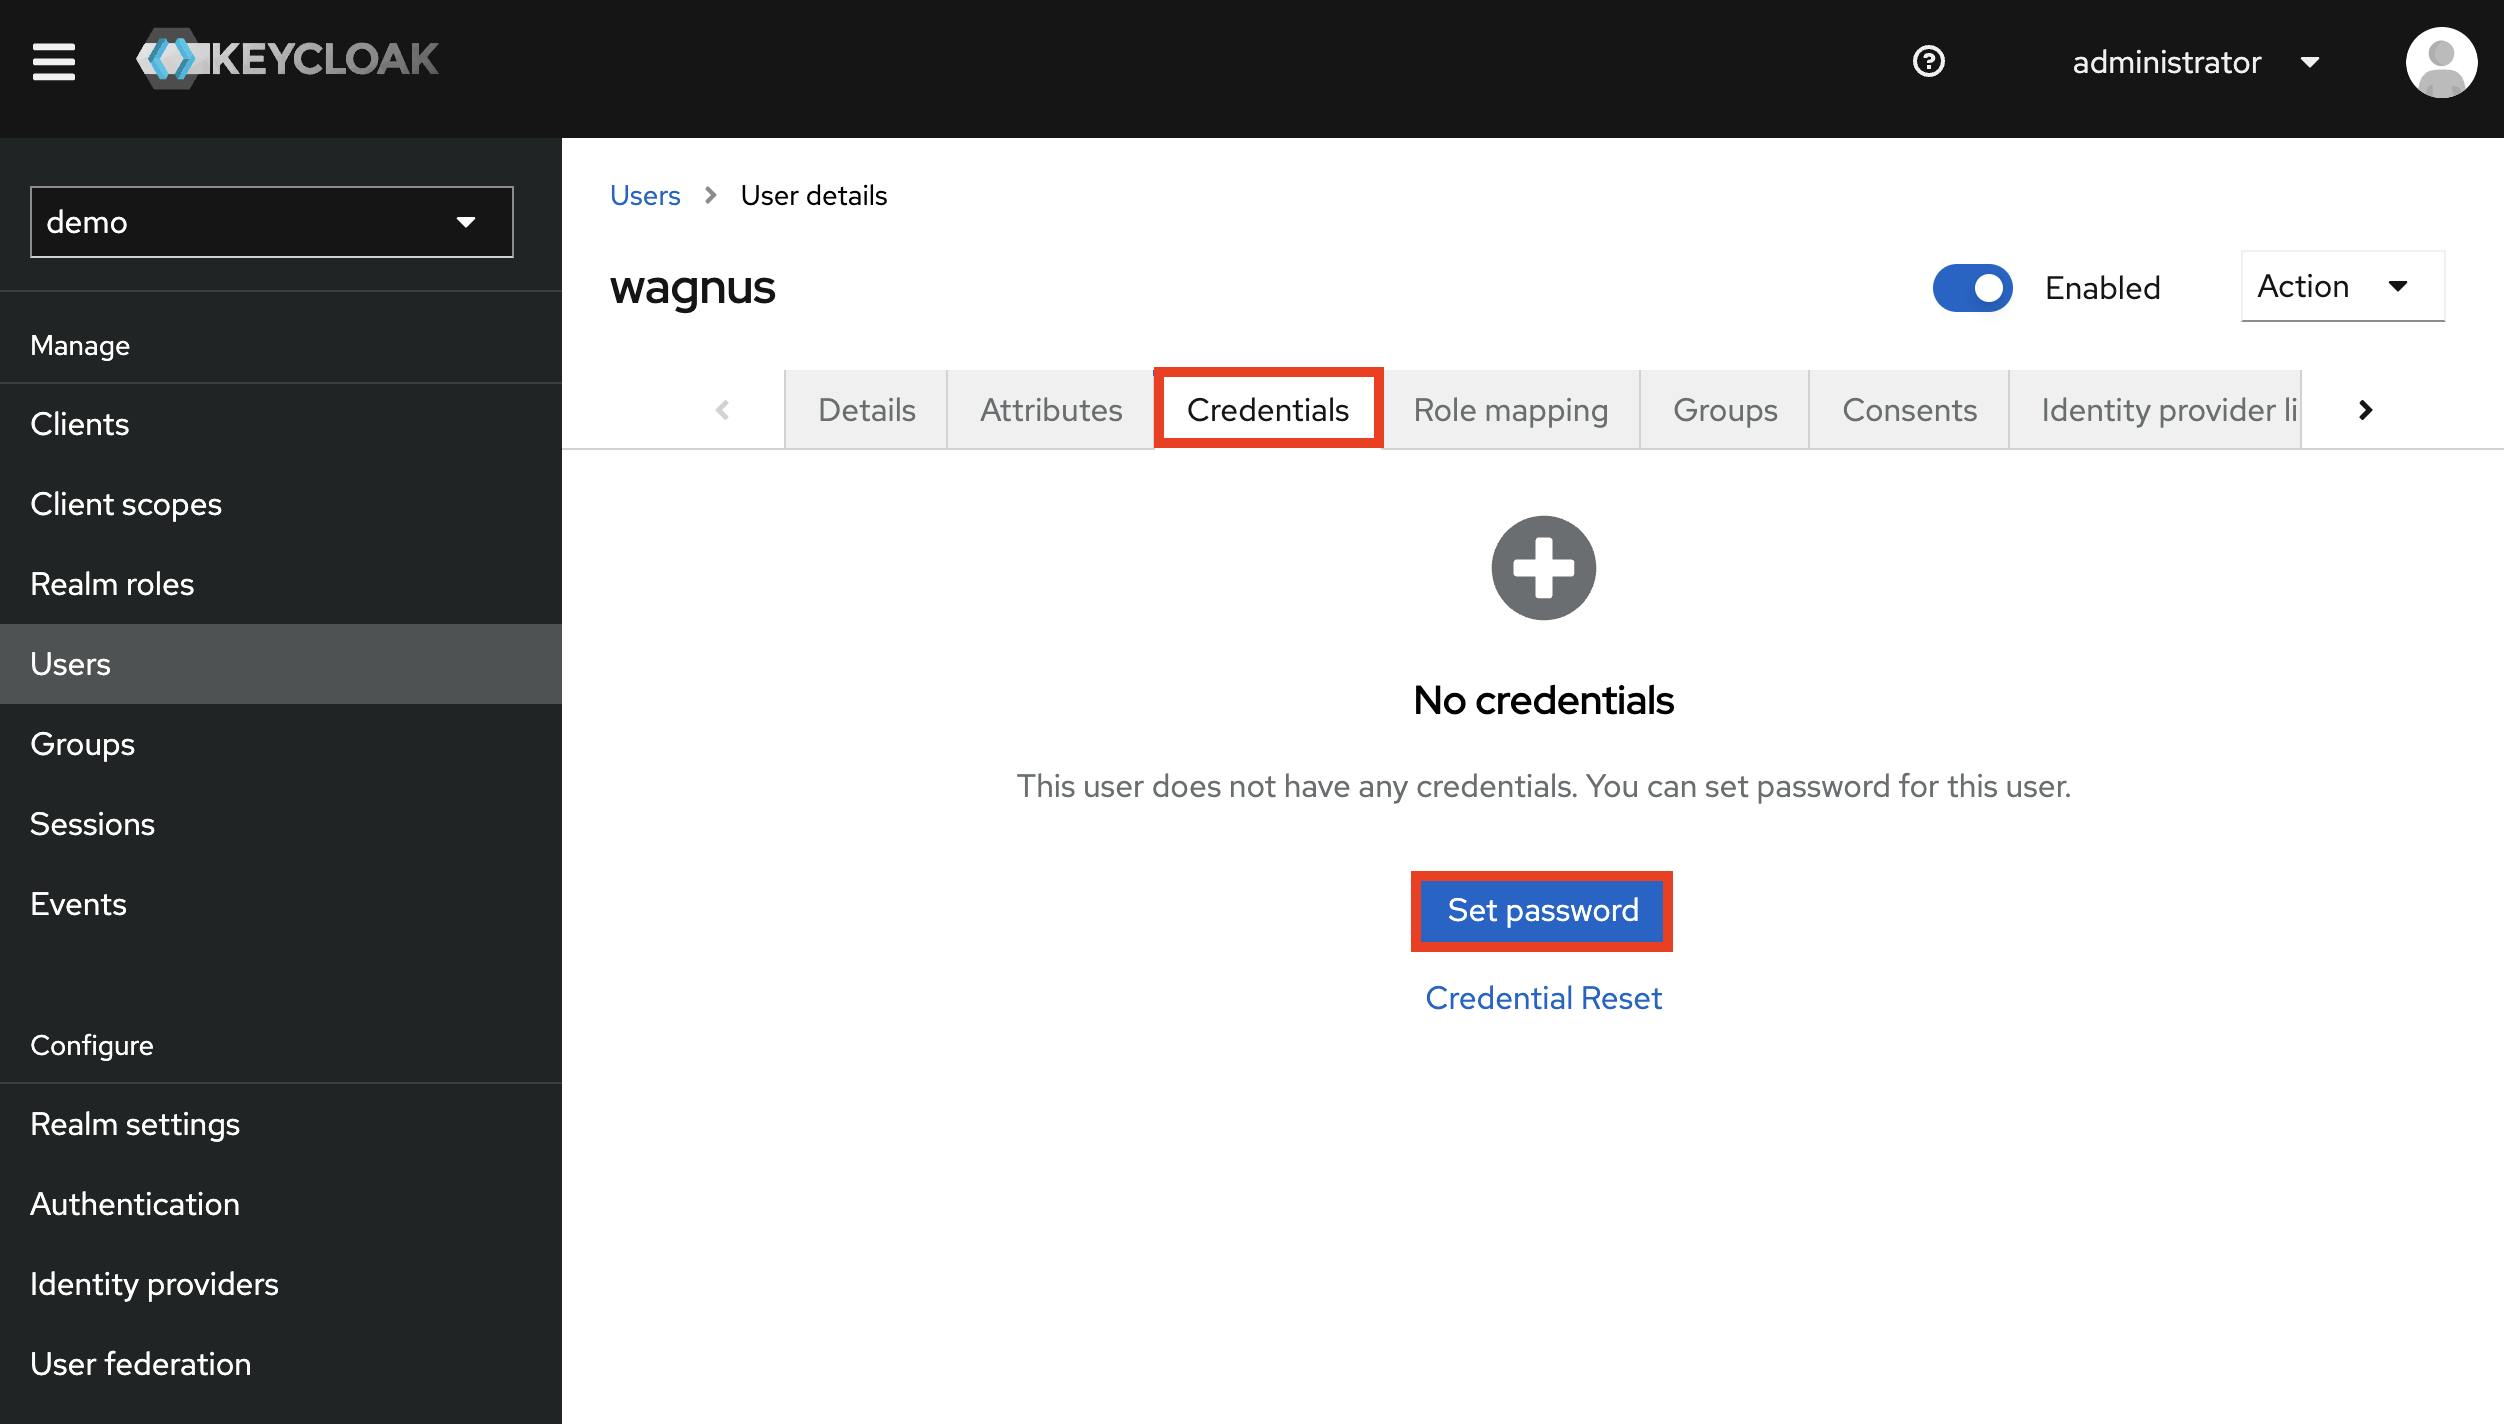
After creating the user, an initial password must be created for the user. Switch to the Credentials tab and set the initial password via Set password.
Login into the account application
The account application is a self-service account management application. Through the application, users can reset their password, configure multi-factor authentication, change their email address and much more.
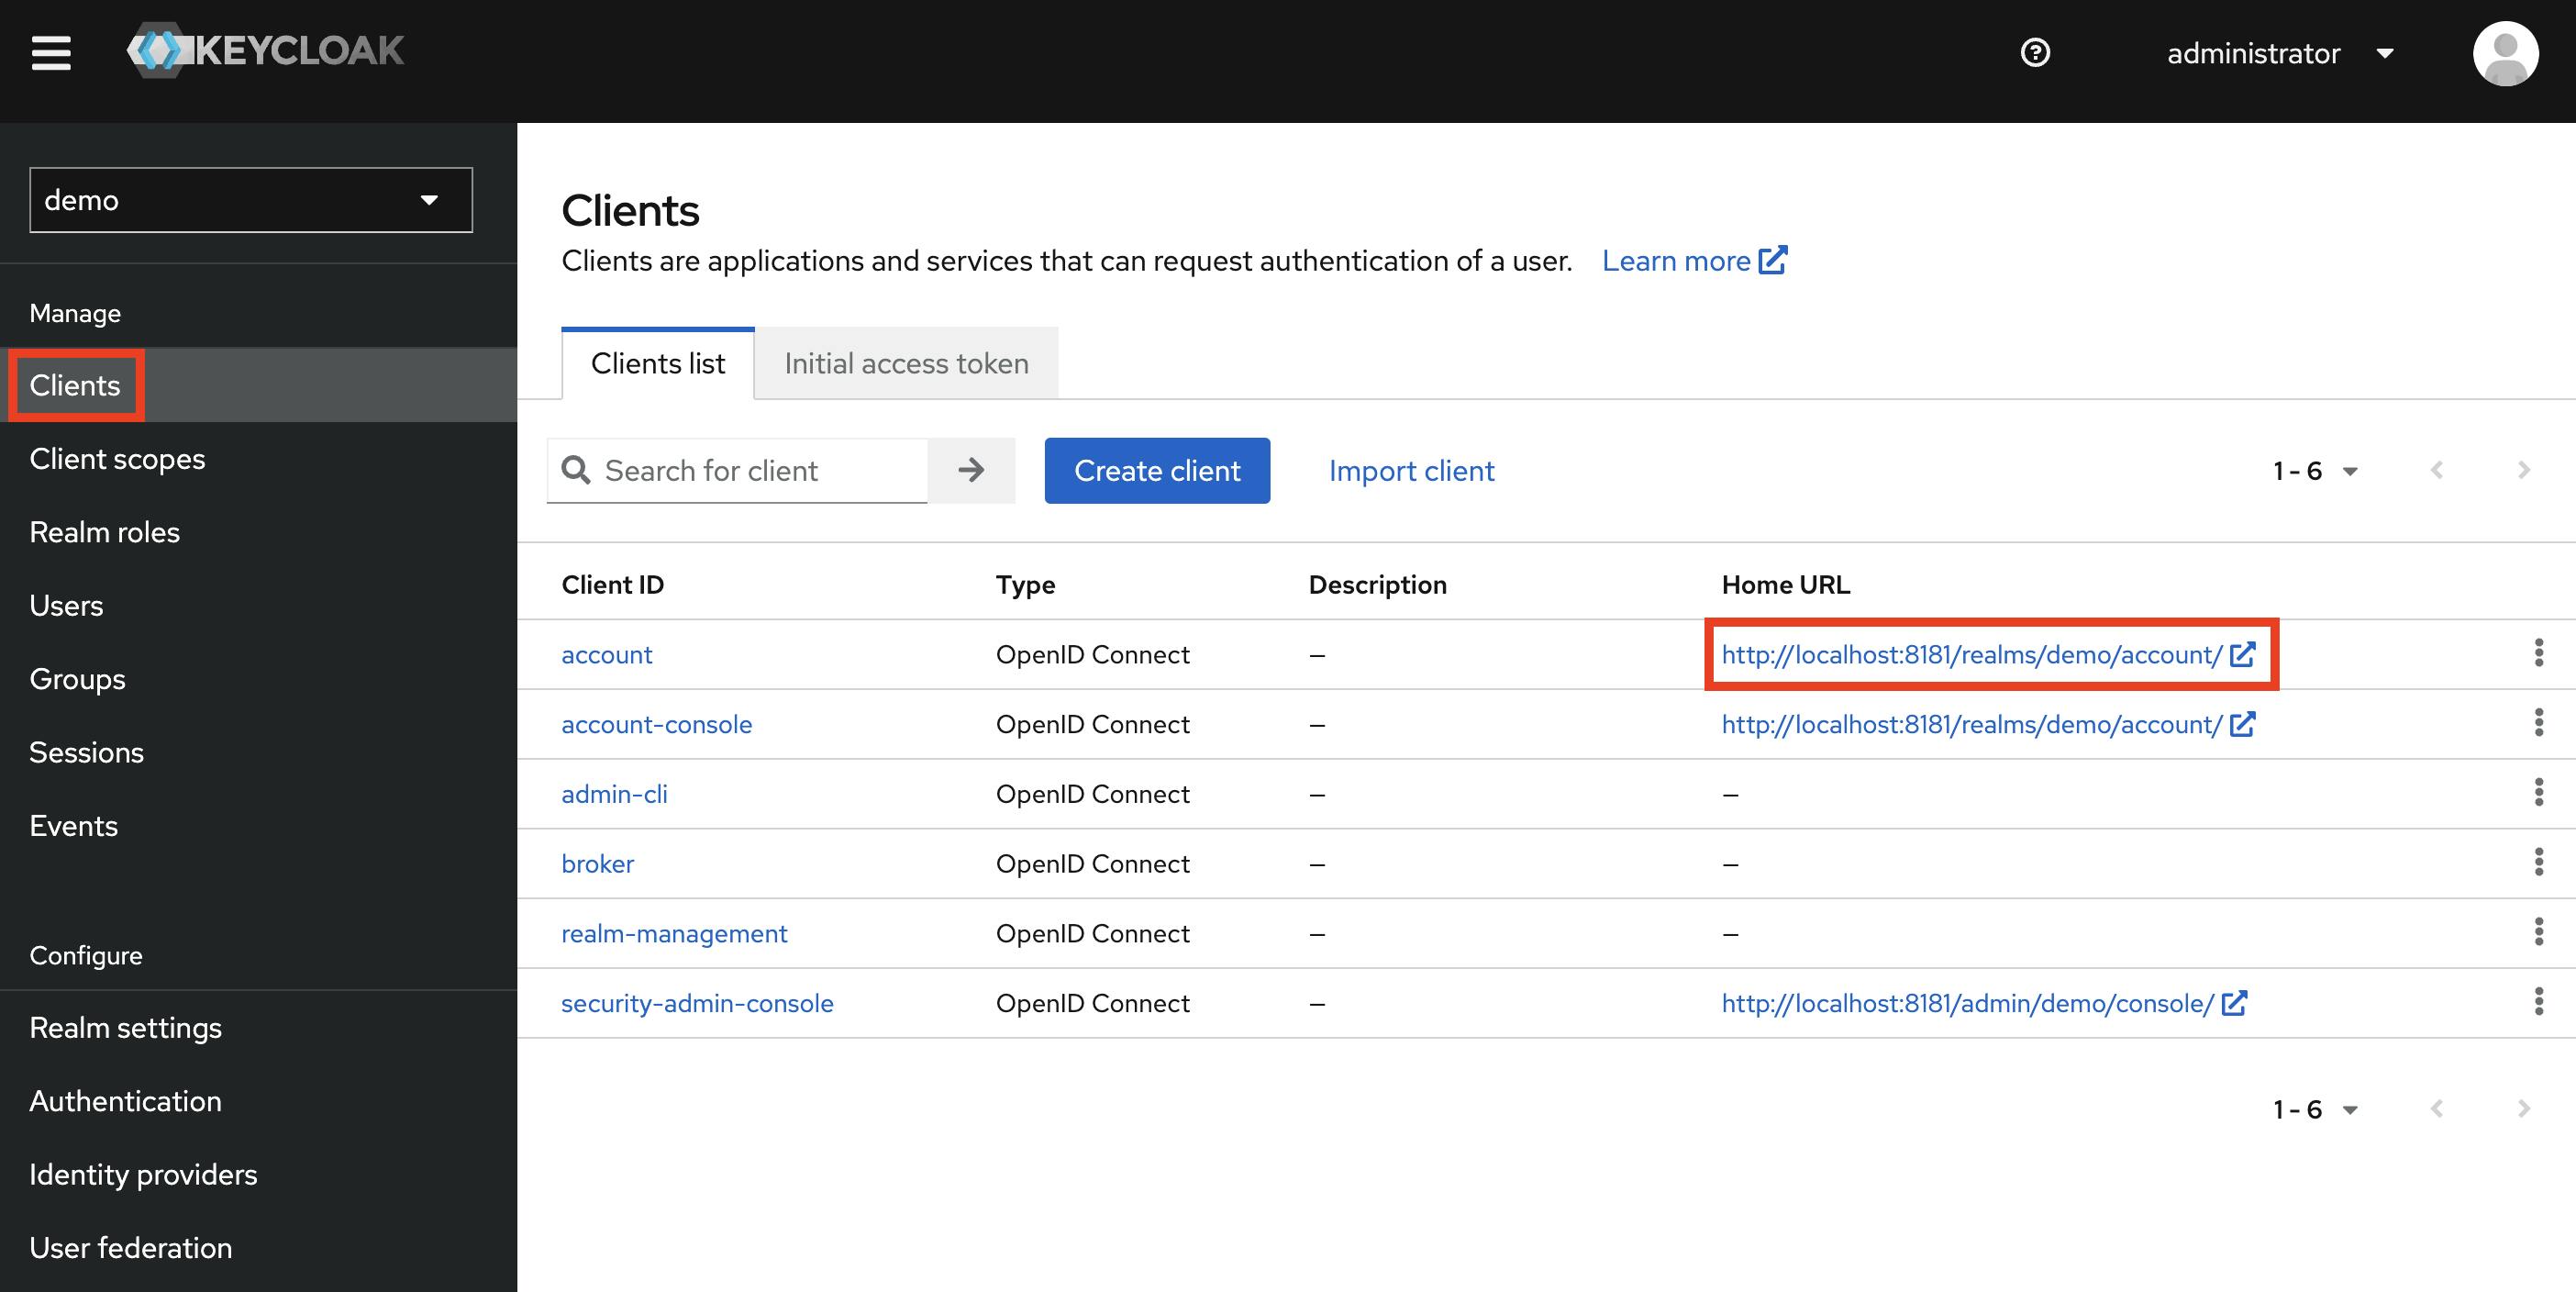
To open the account application, choose Clients from the menu on the left. Search the list for the entry with the id account. Click on the Home URL to open the account application.
The welcome page of the account management application opens in a new window. The Sign in button in the upper right corner takes you to the login form.
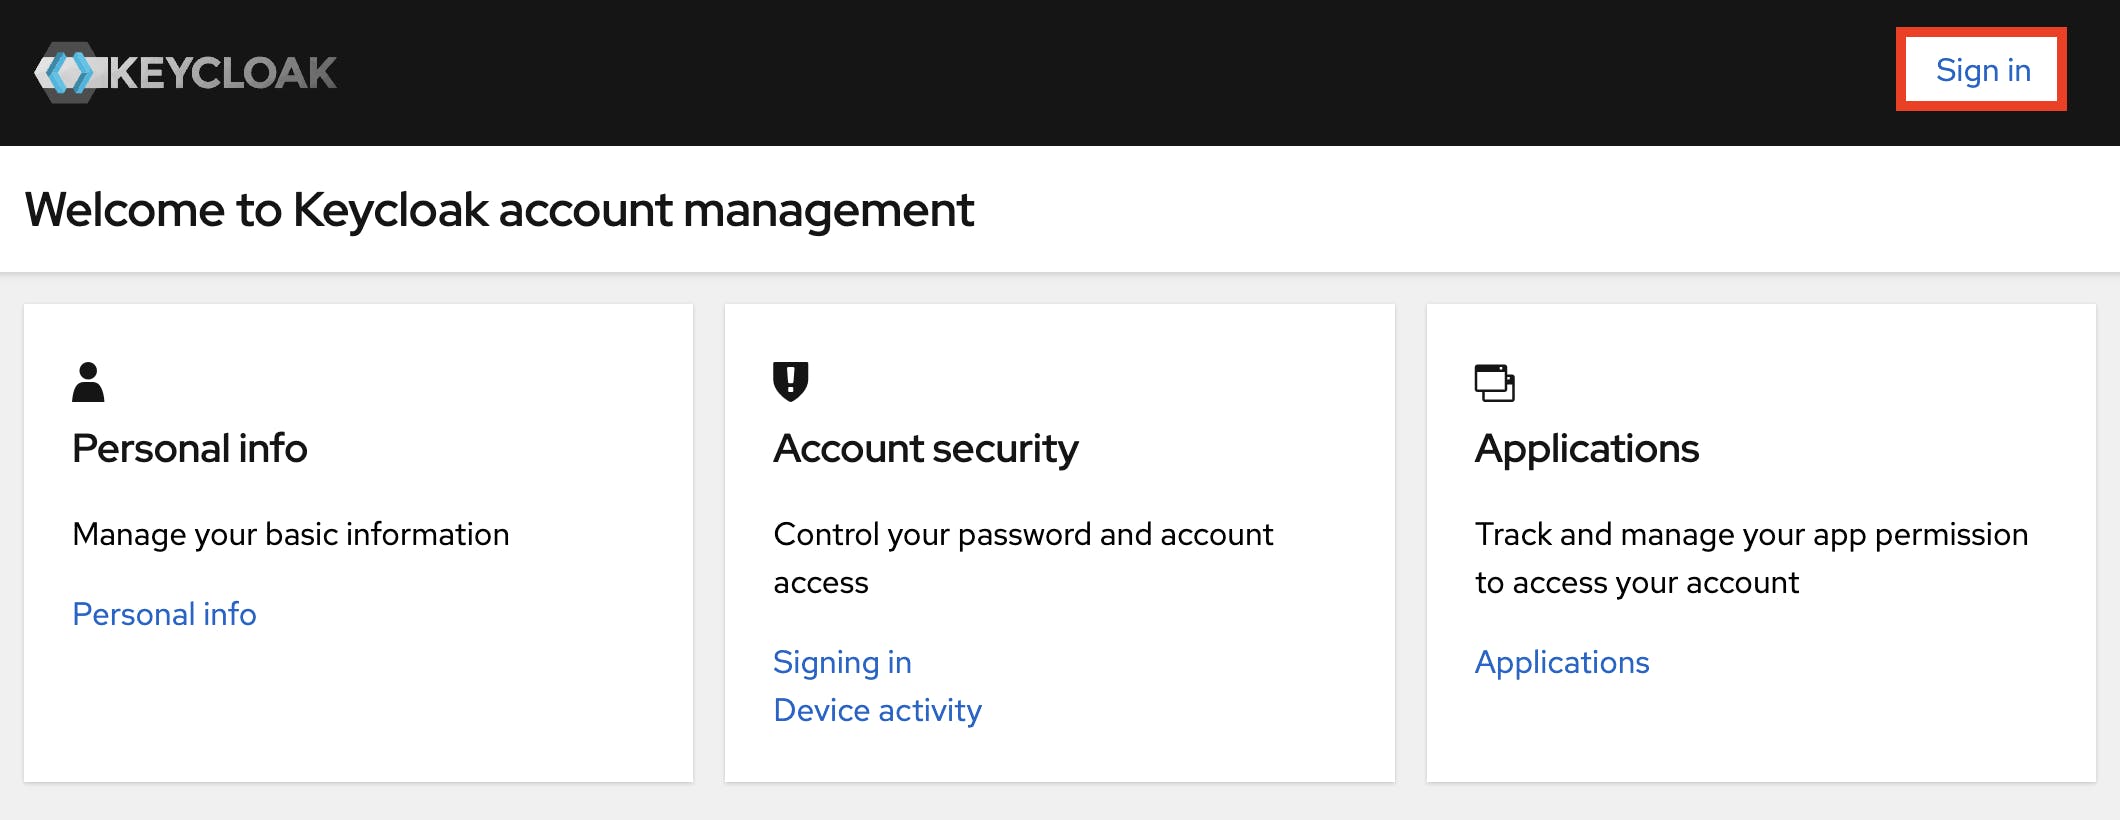
Use the credentials of the user you just created to sign in to the account management application.

After successful login, you can change the user's data such as first name, last name or email.

Coming up next in this series
In this post, we looked at what is a realm and how to create one. Within that realm, we have created a new user. In the next post, we will create our first client application. We will also look at how to get an access token and refresh token from Keycloak with our user via Postman.